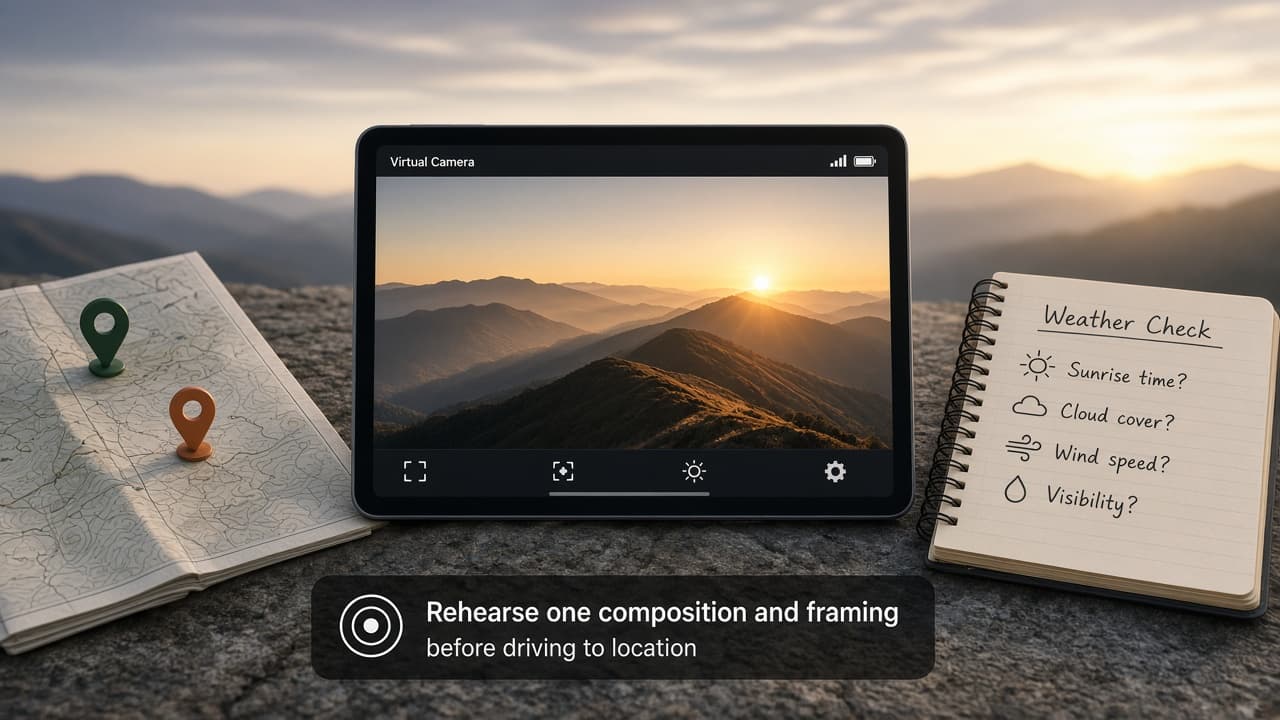
The alarm is set for before dawn. You know which ridge you want to photograph, but not quite where to stand or how tightly to frame it. Before committing to the drive, rehearse one composition and write down what still depends on the weather.
PlanIt Earth offers a spatial preview for photography planning. Its “VR viewfinder” models a scene from a virtual camera position; this exercise uses that preview on a phone or tablet, not a promised walk-around headset experience. The useful outcome is one shot plan you can check when you arrive.
Check access, then choose a nearby subject
The app is free to explore, but the photorealistic viewfinder, weather module and offline regions require PlanIt+. The U.S. App Store listing, checked November 7, 2026, lists an auto-renewing annual option at $14.99 and a standard lifetime option at $99.99. It requires iOS or iPadOS 16 or later on iPhone or iPad. Check the current purchase screen and compatibility before paying; prices and access can differ by platform and region.
For a first attempt, pick a familiar, publicly accessible overlook rather than an unfamiliar mountain route. Choose one subject: a ridge edge, a distant peak or a landmark against the morning sky. Keep the session focused on deciding where to place the camera and what to include in the frame.
Rehearse one composition, changing one thing at a time
Try this short planning session. The sequence is a suggested exercise, not a claim that the app has a dedicated guided mode:
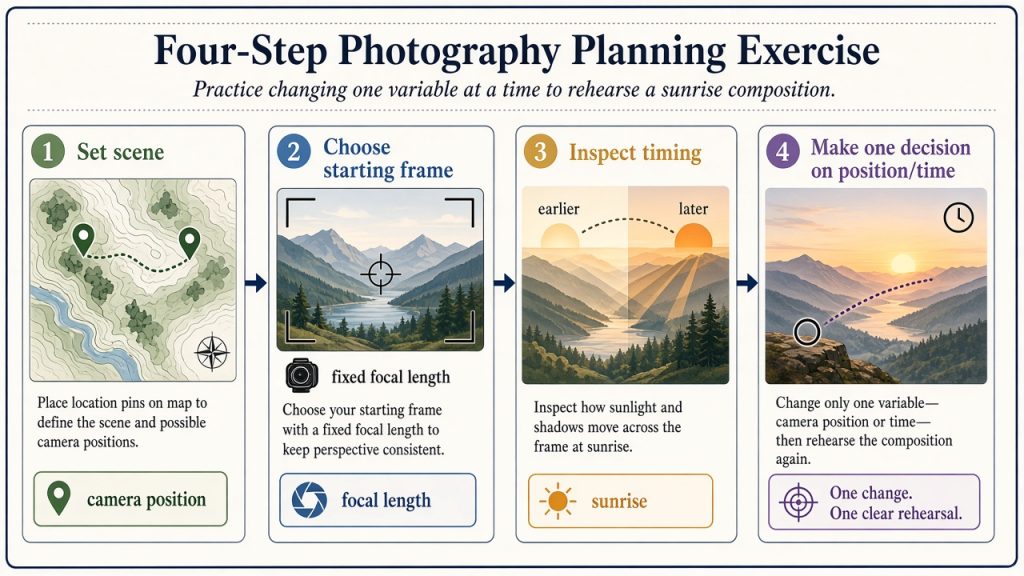
- Set the scene. Find your location, place the camera and scene pins, and select your intended date and time. Check that the camera position represents somewhere you could actually stand.
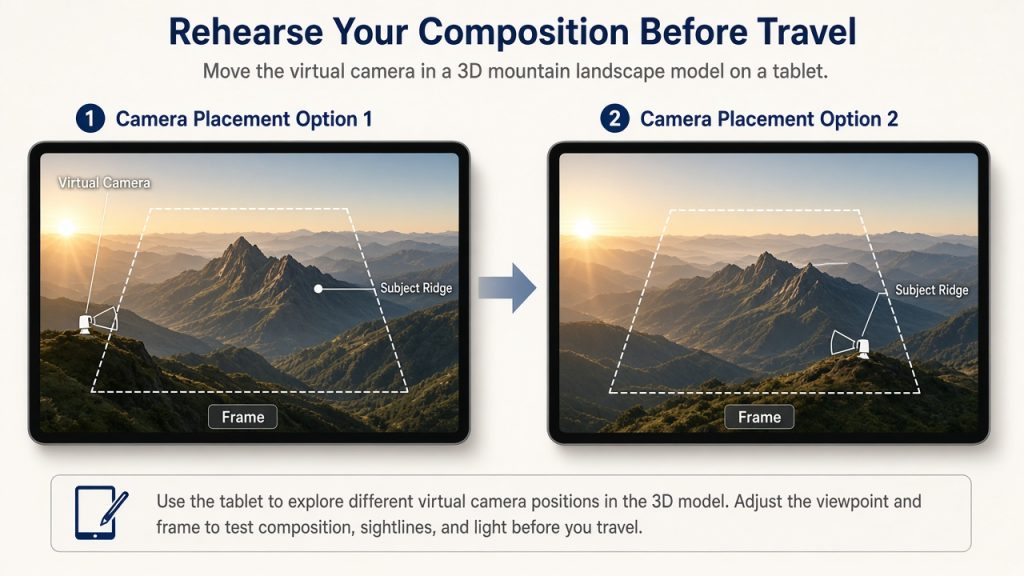
- Choose a starting frame. Use a focal length available on the camera you plan to take. Keep it fixed while you compare two nearby camera positions. Note which position gives your subject more breathing room.
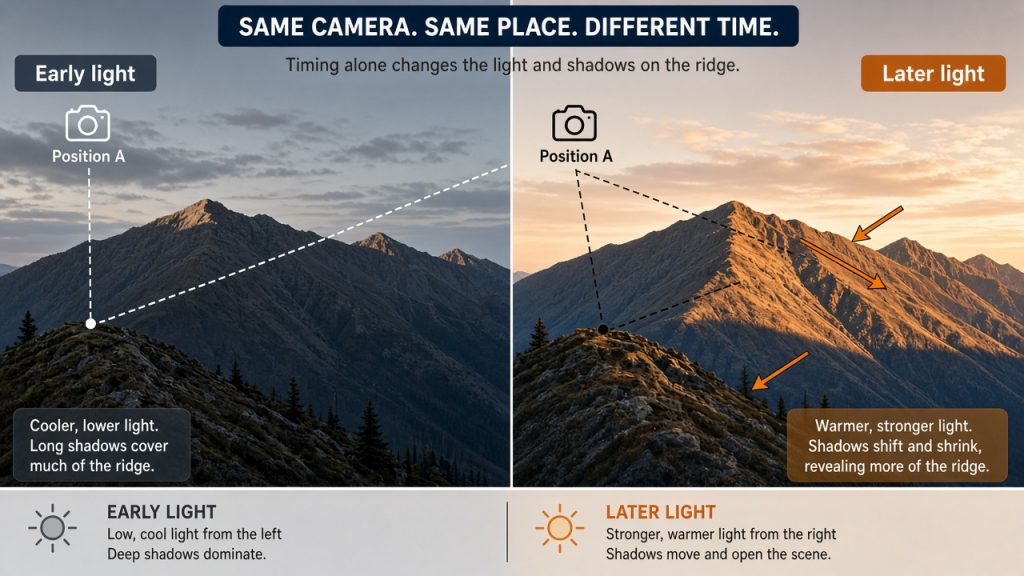
- Inspect the timing. Move through the times around sunrise and watch the modeled light and shadows. Keep the camera position fixed this time, so you can see what the timing alone changes.
- Make one decision. Choose a starting position, time and focal length. Write one reason for the choice, such as keeping a ridge edge clear of another peak. Treat it as a composition to investigate on site.
The spatial preview lets you compare framing and modeled lighting in the same scene. A map remains useful for location and access; the preview gives you a way to ask a more visual question: “What changes in my picture if I move the camera or arrive at a different time?”
Keep the forecast separate from the composition
The developer's weather-feature description includes forecast cards for cloud, visibility and fog. Check the forecast for your chosen place and shooting time, and record when you checked it. If that time is outside the forecast shown, leave the weather decision open.
Do not read a convincing preview as proof that fog will lift at a particular minute or that foreground rocks will be visible exactly as rendered. PlanIt's own planning-accuracy guidance describes the app as an aid and calls for independent checks of conditions and access. Recheck the forecast before leaving, and choose another outing if conditions or access do not suit the plan.
Save the plan, then keep a short companion note: the intended frame, the weather question still open, and an alternative subject or date. Downloaded maps, elevation and markers can support offline planning; do not assume they provide an updated offline forecast.
After the outing, compare your photograph with the plan. What matched, and what did you only discover when you arrived? Keep one adjustment for the next attempt. If a friend joins you, compare those observations—the most useful result may be a better question for your next sunrise.